Assembly & Installation of the Jellyfish
& Trouble Shooting Problems
Download assembly instructions (with photos)
Download troubleshooting instructions
Jellyfish Components
1. The Jellyfish Body
2. The Tentacles (3)
3. The power supply (AC adaptor) with quick-connect plug
The Assembly of the Jellyfish
Download assembly instructions (with photos)
The assembly of the Jellyfish, while somewhat daunting at first, is actually quite easy. The simplest approach is to invert the body of the Jellyfish and set it down in the styrofoam container in which it was shipped (or a cardboard box with towels or newspapers crumpled up inside to keep the body stationary). In this position, one can see three female style quick-connects protruding through the three holes in the plexiglas circle. Next to each of these three holes, one can also see a nylon screw with a nylon cap nut penetrating through the plexiglas.
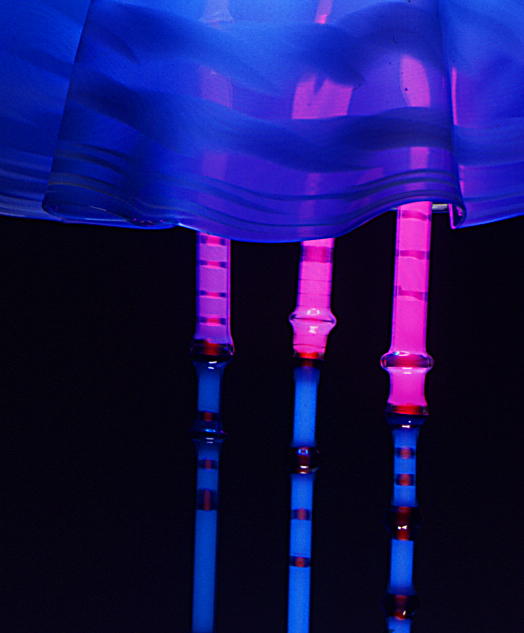
First, remove each nylon cap nut from each nylon screw. When one examines each tentacle, it can be seen that on one end there is a male style quick-connect and a rubber electrode cover with several holes in its lip. The male quick-connect of each tentacle is to be firmly inserted into the corresponding female quick-connect. After the quick-connects are coupled, the wire is fed gently back inside the hole in the plexiglas until the rubber lip of the electrode cover is abutted to the plexiglas. Note that the small nylon screw protruding adjacent to each of the three holes will fit through one of the holes in the lip of the electrode cover. There are several holes in each lip allowing each tentacle to be placed in a variety of positions as desired, based on the overall configuration of the three tentacles as a whole.
Firmly holding the tentacle adjacent to its electrode cover, gently push the lip of the electrode cover over this screw and replace the nylon cap nut onto the screw finger-tight (not too tight!). When all three tentacles are in position with the nylon cap nuts replaced, the Jellyfish is ready to hang. Hold the body of the Jellyfish in one hand, supporting it with the other hand in the center of the plexiglas disc between the tentacles. Be careful not to grab the rim of the glass Jellyfish body as the glass here may be thin and can break.
At the top of the Jellyfish body is a brass hook that will allow it to be hung from a chain or an acrylic-coated steel wire. Once the Jellyfish is hung, attach the quick-connect from the AC adaptor to the quick-connect at the top of the Jellyfish next to the brass hook. When this connection is established, it is time to plug in the AC adaptor and enjoy the Jellyfish sculpture!
download assembly instructions (with photos) http://www.vgartgallery.com/wp-content/uploads/2023/01/Jellyfish_assembly.pdf
Troubleshooting Jellyfish Problems
Overview
Download troubleshooting instructions
All of our sculptures are tested in the studio before they are shipped out. If for some reason the jellyfish won’t light at all,
First try the following:
1. Plug another appliance into the receptacle to insure that the receptacle is working.
2. Check all 12 volt connections between the adaptor and Jellyfish are connected well.
- IIf the jellyfish still does not light at all, there may be a problem with one or more of three things:
The AC adaptor
The internal neon transformer
The internal neon circle
(If there is a problem is limited to one or more of the tentacles, the jellyfish body should still glow)
Trouble shooting the AC adaptor
If you have more than one jellyfish you can test the adaptor by switching it with another jellyfish. If not, the best way to test it is with a voltmeter. It should read just above 12 volts DC.
Trouble shooting the transformer/neon circle
To trouble shoot the internal neon transformer and the internal neon circle one needs to remove the tentacles and turn the jellyfish upside down (the packaging materials may serve as a support). Unscrew the brass nut (one may need pliers) and carefully lift the plastic disc. The neon transformer and neon circle are attached to this disc and needs to be disconnected before the disc can be completely removed. This is accomplished by undoing the internal 12 volt connector between the transformer and the jellyfish stem.
If the AC adaptor is working, plug it into the transformer connector directly and the plug the AC adaptor into the receptacle.
To test the transformer hold one of the tentacles in the middle and touch the wire end to the insulated wire connecting the transformer to the neon circle. If the transformer is good the tentacle should partially light.
If you have more than one jellyfish, you can test the neon circle by touching it to the top of a lighted tentacle and if it is good, it will partially light. If not, the best way to check it is by visually inspecting the unit. If it looks good remove the two black electrode covers and examine the ends of the electrodes. One of them will have a glass ‘nub’ from when the gas was heat sealed into the unit. Ensure it is intact and not cracked.
Installation of the Jellyfish
Installation of the Jellyfish is quite simple. Look at the Tentacle. There is a plug on the end of it. Now look at the inside of the Jellyfish body. There are matching plugs through each of the holes in the Plexiglas Base of the Jellyfish. Insert the male end into the female plug in the Jellyfish. Remove the white plastic screw head. Now push the plugs inside the Jellyfish until the rubber part will fit on the screw threaded part. Position the tentacle in one of the holes provided. Make sure that it is fitted over the screw and then put the cap on the screw. Repeat this with each of the Tentacles.
Your Jellyfish is now ready to hang!
You will need a hook in the ceiling, a plastic coated wire in the desired length and the cords that we provided with the Jellyfish. Make a loop that is very secure at each end of the wire. Thread the wire through the spiral cord that came with the Jellyfish. Hang one loop on the ceiling hook and the other on the hook at the top of the Jellyfish. At the top of the Jellyfish is a quick connect that should be plugged into the spiral cord. The other end of the spiral cord is plugged into the adaptor. Once you have completed the connections, plug in the adaptor and your are done.
We hope that you will enjoy your Jellyfish for years to come. Thank you for adding these wonderful pieces to your home.
Available Jellyfish
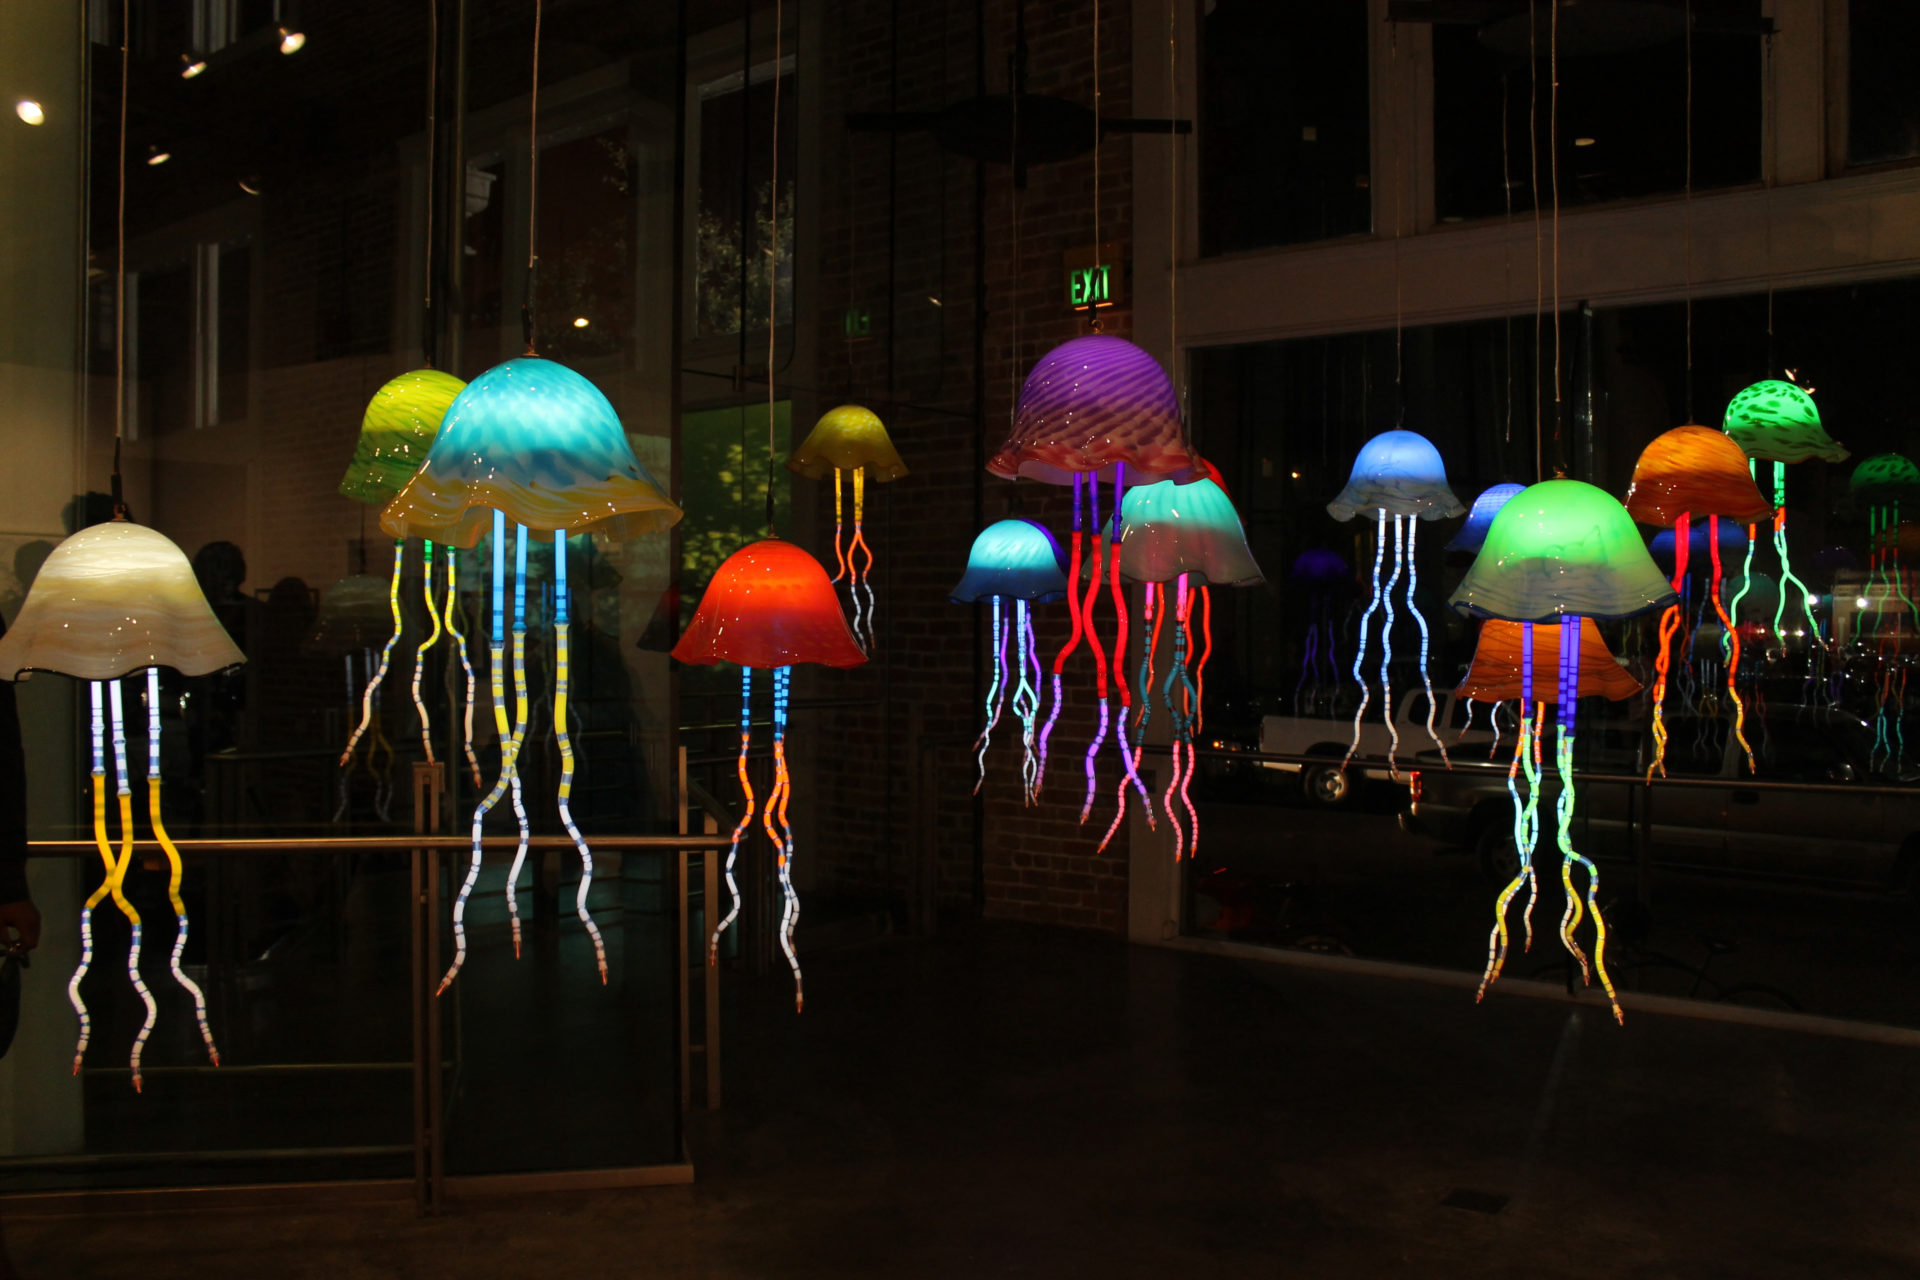
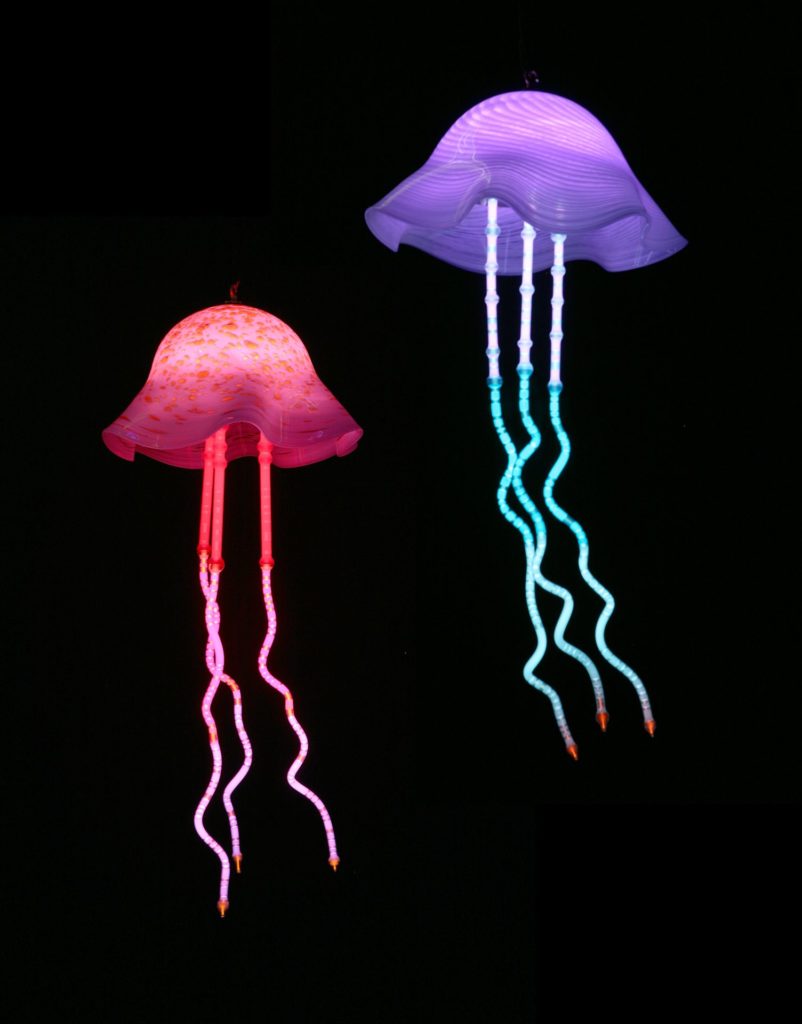
Always on rotating display, exotic luminous neon and blown glass Venusian Jellyfish set a magical ambiance for the main gallery space. Known worldwide, the Jellyfish are in constant production at glassLight studio.
Jellyfish Information
Always on rotating display, exotic luminous neon and blown glass Venusian Jellyfish set a magical ambiance for the main gallery space. Known worldwide, the Jellyfish are in constant production at glassLight studio.